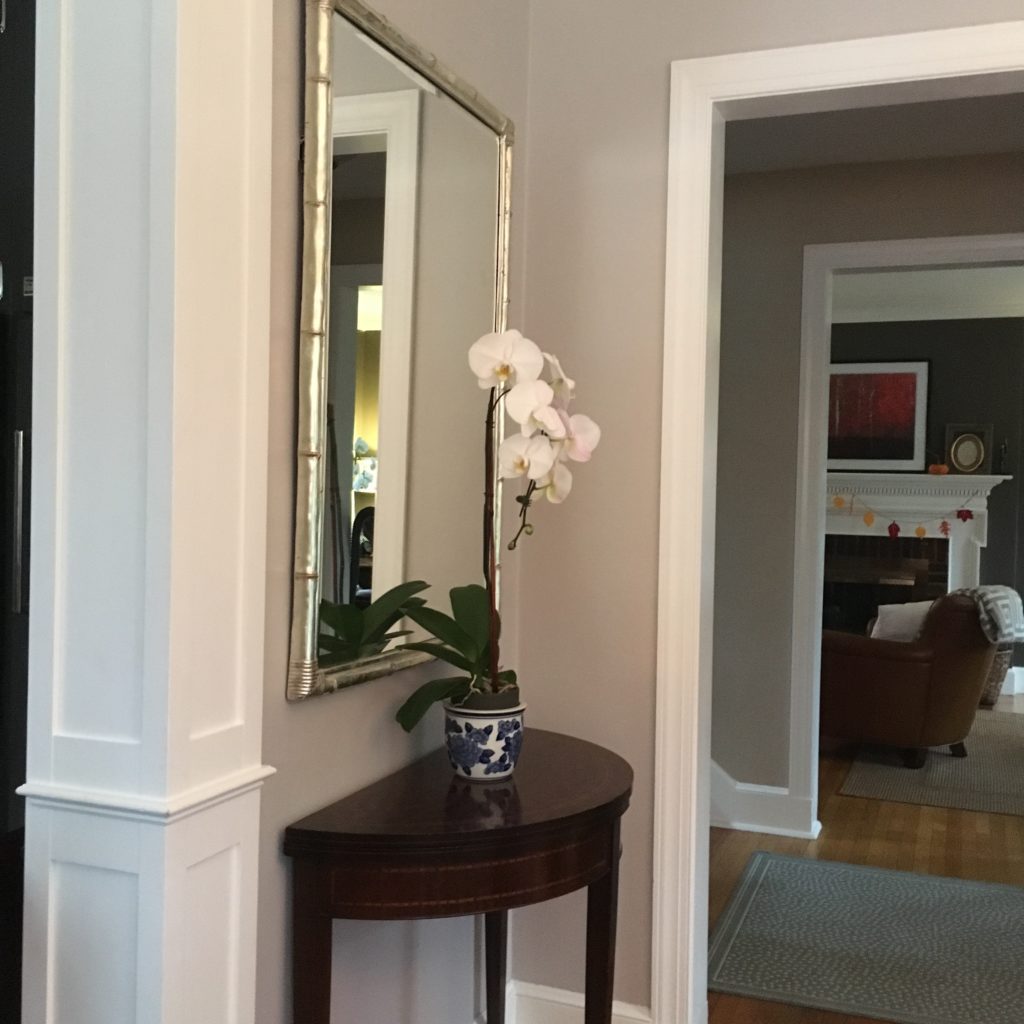
As I was starting to dream about blogging a bit more, I came across the One Room Challenge which, to my delight, has one of my favorite mags, House Beautiful, as a media partner. I chose our dining room and threw my hat in the ring as a guest participant. Aaaaaaaaand, I did not finish in the allotted six weeks. Sigh. For so many reasons we will cumulatively call life, I could not get the room pulled together in time for the final reveal. However… the Spring transformations are set to begin April 5th and I am bringing my “A” game!
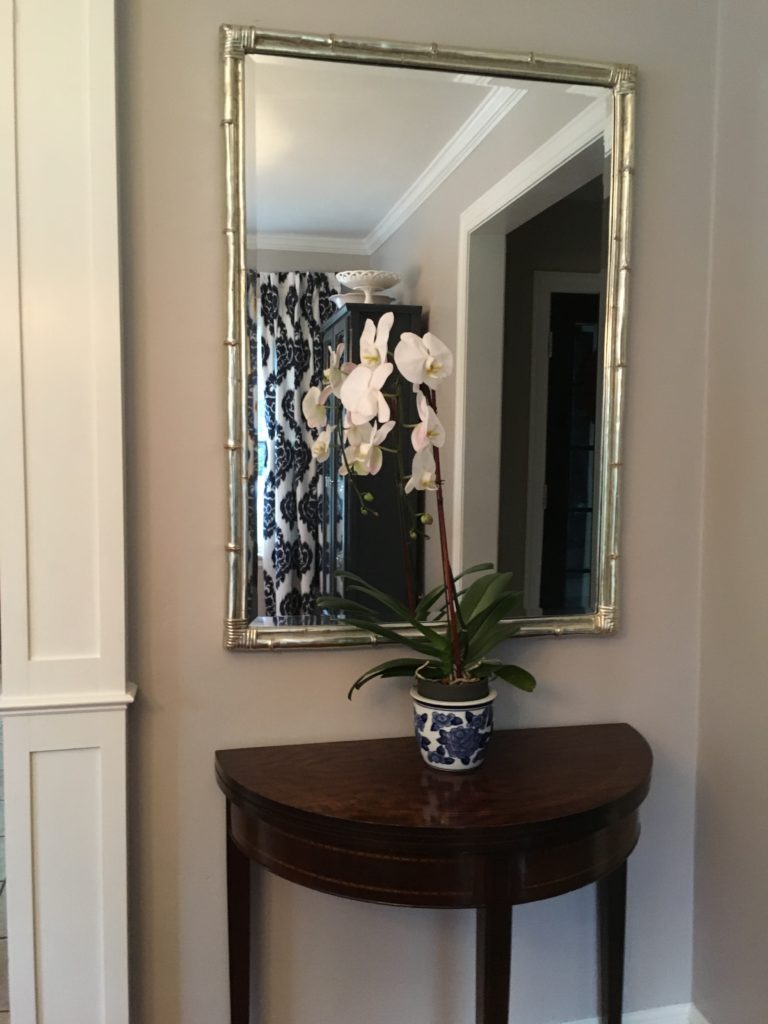
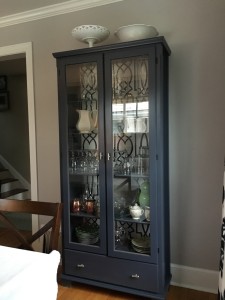
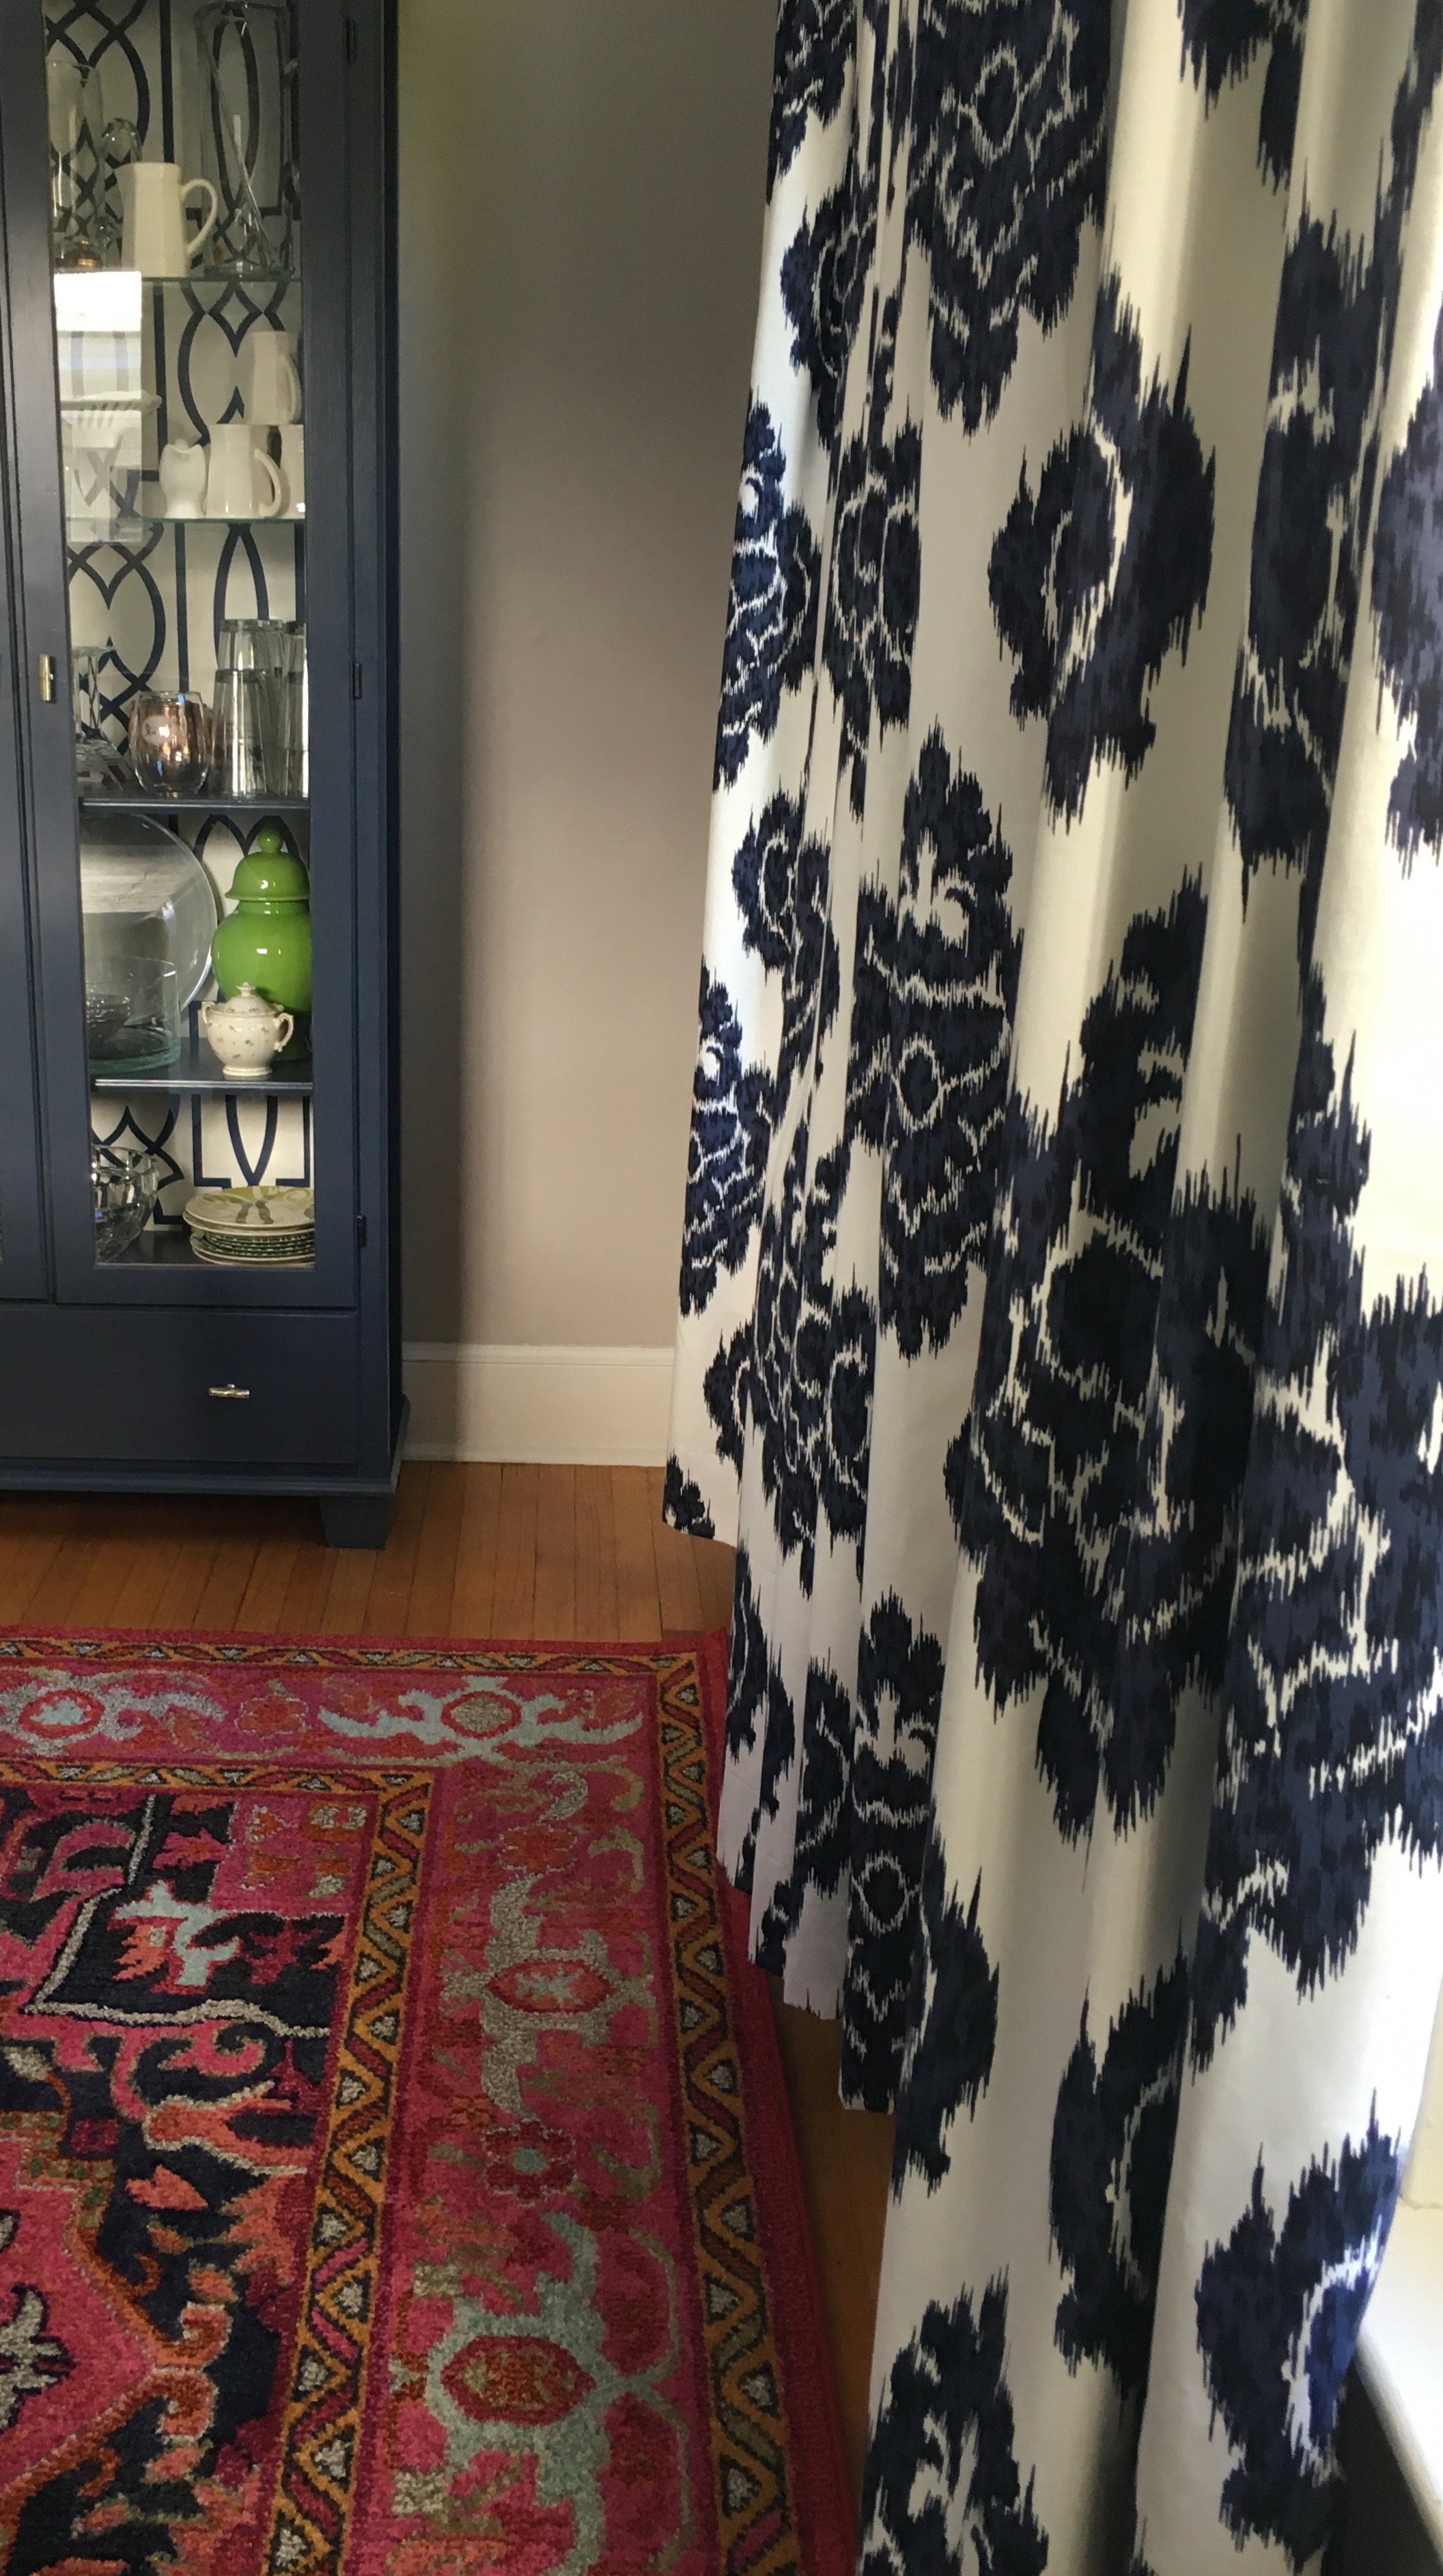
Below is my dining room transformation:
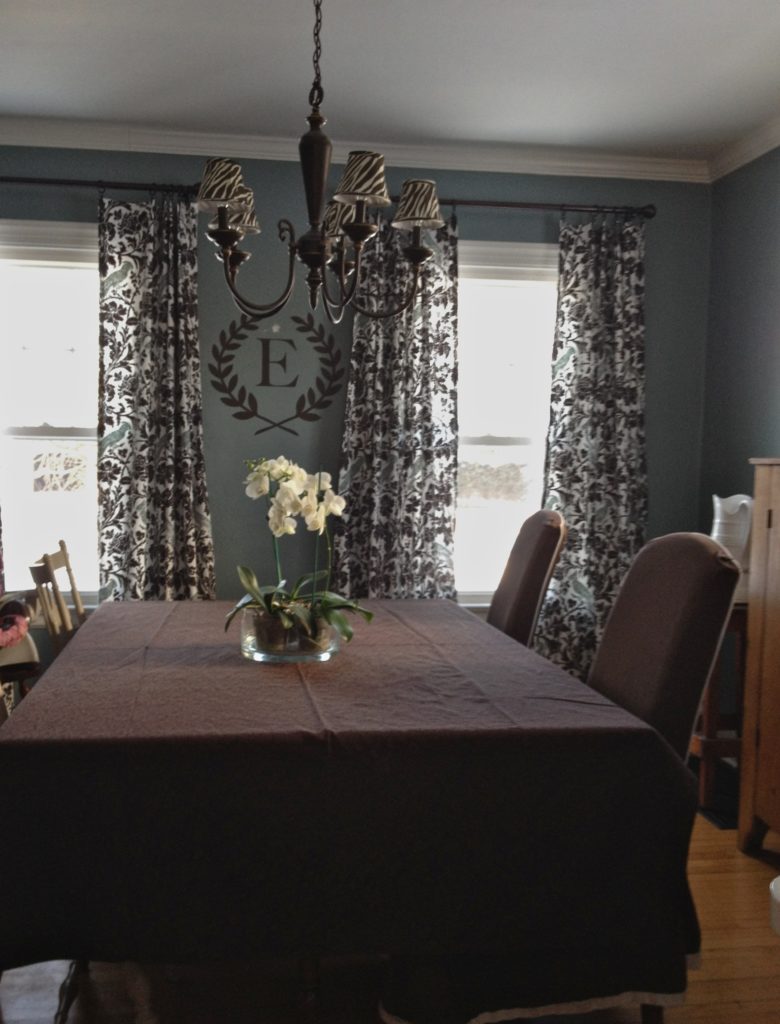
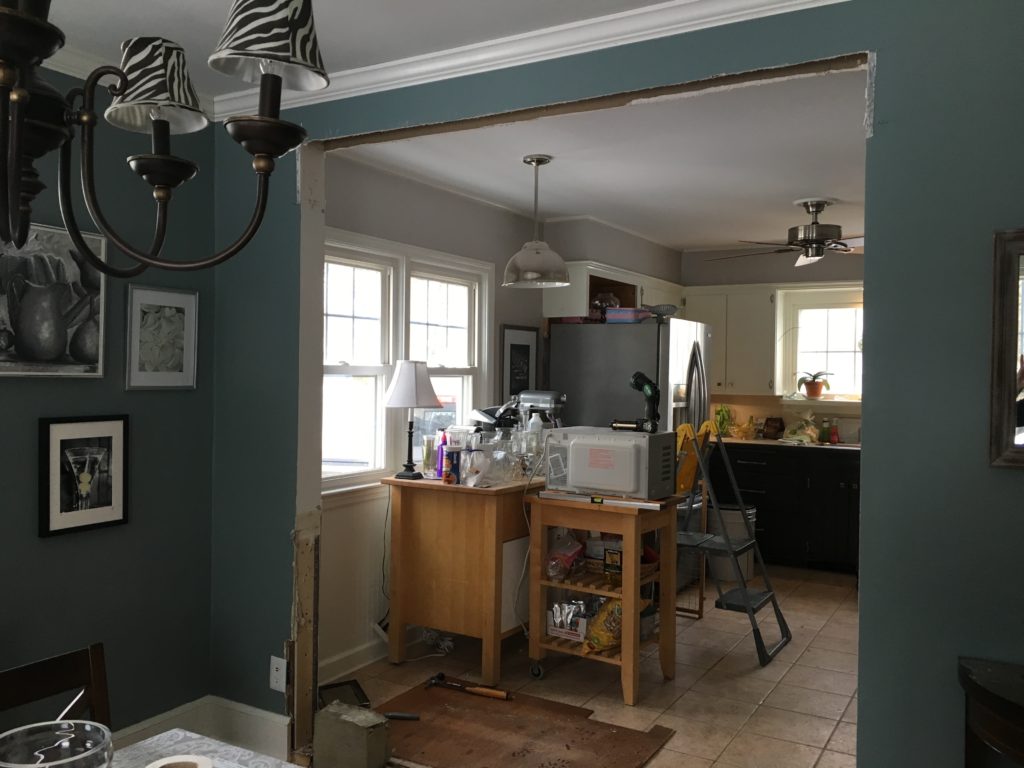
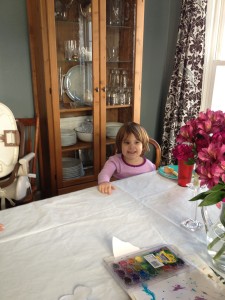
The dark “Before”, with too much furniture, an inherited light fixture and a pony wall between the dining room and the kitchen:
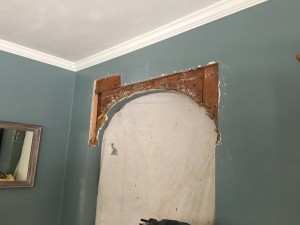
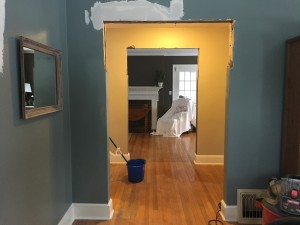
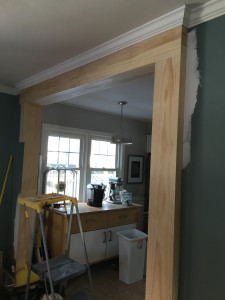
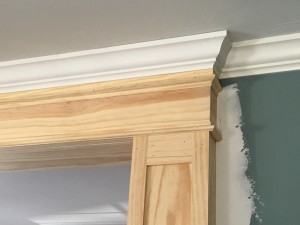
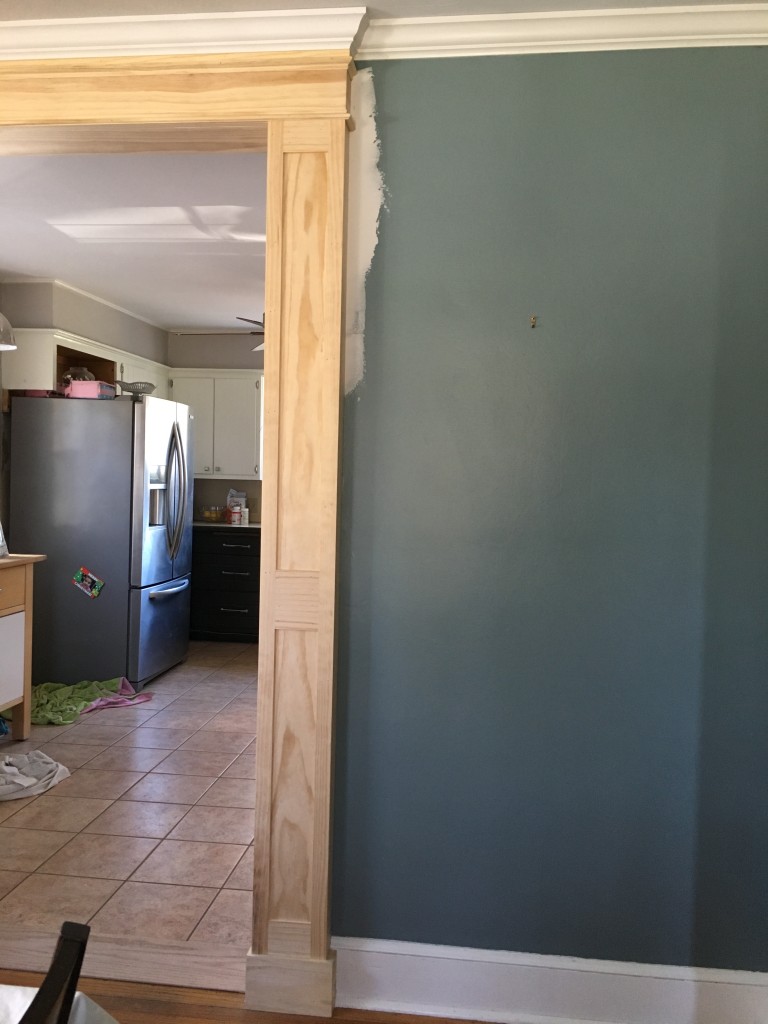
You can read about each step, along with sources, in my earlier posts here, here and here.